

HANDBELLS IN DORICO
Late summer, 2024.
Shockwaves rippled through the music community as notation software Finale abruptly announced that they were quitting.
No more updates, no more support after a year.
They suggested that Finale users should migrate to Dorico and offered a hefty discount for those who needed to move to that platform.
FULL DISCLOSURE: I hated Finale. While I would admit that it was in some ways better suited for scoring handbell compositions, due in no small part to its ability to generate a bells-used chart better than any other software, I found it insanely difficult to work with.
I had made the decision early on to opt for a rival platform called Sibelius, started by a couple of Scandinavian brothers who thought that notation software should be easier to use.
But Sibelius was bought out by a company called AVID, who promptly fired the two brothers and then proceeded to make crappy everything that was good about Sibelius. Still, learning new notation software is BRUTAL, so most everyone stuck with what they knew, even though the brothers launched a brand new platform called Dorico. Early adopters were fiercely loyal and sang its praises loudly… I gave it a try and thought it was interesting, but I was in no mood to learn a new system.
Well, until Finale kicked the bucket, which meant thousands of Finale users had to switch to something, there was a massive discount on Dorico for those who wanted to switch, and I was seriously getting fed up with Sibelius by now as it seemed to get worse with every update, not better. So I jumped in, figuring I could always keep using Sibelius if Dorico wasn’t for me.
But what about handbells?
The bad news: Dorico is not handbell-friendly right out of the box. OK, it’s a download and there isn’t a box, actually, but you know what I mean.
The good news: you can fix that. It’s a pain, but you only have to do it once, and I’m going to show you how.
Setting things up
The best way to write for handbells in Dorico is to use a custom template. Once you have all the things you need in this template, you can save it and use that template every time you write a new piece.
Launch Dorico and click CREATE NEW to start a new project, then select EMPTY
On the right, you’ll see lots of options. The ones you’ll need to check on are the PAGE SIZE (it defaults to A4 - you can change it to whatever you like). Also the RASTRAL SIZE is the size of your music staff. I find that anything smaller than SIZE 3 is hard to read, considering your ringers will have the music at the front of the table and will be reading from a distance.
Make sure PROJECT WILL USE MULTIPLE FLOWS is checked and make sure that TIME SIGNATURE and KEY SIGNATURE are left UN-checked.
Click CREATE PROJECT.

The next screen asks you to add a player - even though handbells are played by a team of players, you should choose ADD SINGLE PLAYER because reasons. Select an instrument that is appropriate in terms of staves. Since we’re writing for a whole handbell choir right now, I’m going to choose PIANO because that will give me a grand staff and set the playback sounds to piano. Before you ask, YES there is a handbell setting, but the playback sounds are terrible and it treats it as a transposing instrument, so if you’re inputting notes on your MIDI keyboard, it will show them an octave off on the screen unless you change some settings and I’m not about to get into all that right now.
I’ve composed for bells for so long using piano playback that my ears can ‘hear’ the bells even though the computer is playing piano.
ALSO, you can get under the hood and change what sound sets are used for your instrument - but I’m not getting that far into this right now. Let’s just get our score set up. Click ADD to add your piano player.


You should have something similar to this now:

OK, so here’s where we get a lot of heavy lifting done, right off the bat.
Type SHIFT+⌘+L (Mac) or SHIFT+CTRL+L (PC) to get the Layout Options menu.
On the left hand menu, click BAR NUMBERS and set the parameters you want. Standard handbell notation conventions are the selections shown below:
Frequency: every bar
Horizontal position: Left-aligned on barline
Placement: Show above top staff of system
Click APPLY - or, if all you ever write for is bells (bless you!), you can click SAVE AS DEFAULT and it will start with these settings always.
But since we’re creating a bells-specific template, you can just click APPLY.

Now click PAGE SETUP and either scroll down or click FLOWS. The main things to notice here are
New Flows: ALLOW ON EXISTING PAGE (the bells used chart and the rest of the score are different flows, so they’ll need to be on the same page)
Use ‘First’ page template: FIRST FLOW ONLY (because reasons)
Show flow headings: NEVER (you don’t need to have BELLS USED CHART and SCORE showing up like titles between the staves)
Fill frames with blank staves: NEVER (otherwise your bells used chart will be multiple measures)
Click APPLY

Click STAVES and SYSTEMS in the left menu and make sure that you change both of the Staff Labels options to NONE. The rest of the stuff on there, you don’t need to worry about. Click APPLY.

Nice and clean! But all we have is the single staff that will become the bells-used chart.
To create a new staff to put our music on, type SHIFT+F to get a New Flow. (A ‘flow’ in Dorico is a section of music that belongs to the project, but stands alone… such as a piece with several movements. Each movement is a Flow. In this case, the bells used chart and the actual score will be separate flows.

Great! Now we have one flow for the bells-used chart and another flow for the score. But wait… a bells-used chart normally doesn’t have an ending barline. No worries! Type SHIFT+⌘+N (Mac) or SHIFT+CTRL+N (PC) to bring up Notation Options.

IMPORTANT! The very first thing you do is click FLOW 1 on the right side panel. Flow 1 is the bells-used chart and we only want these changes to apply to that, not to the whole score!
Click BARLINES and then NO BARLINE as shown in the above screenshot.
Click APPLY. Now we have it like we want it…. kinda.

In addition to having no ending barline, bells-used charts are also usually a bit smaller in size than the rest of the score. Luckily, that’s pretty easy to do. At the top left of your screen, click the ENGRAVE tab, click on the quarter rest in your staff, then RIGHT CLICK to pull up the contextual menu.
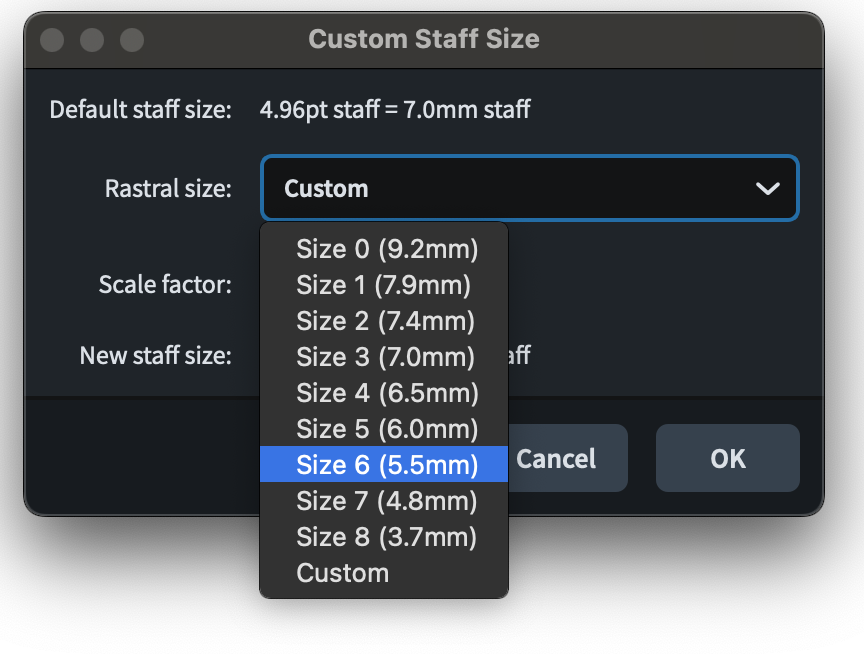
Select STAFF SIZE and CUSTOM STAFF SIZE. That pops up another menu, where you can choose Rastral size (I chose size 6) for this tutorial)

NOW… most of the time, the bells-used chart is also indented a bit. I’m sure there’s a way to do that, but I haven’t found it yet - at least not an easy method. Perhaps someday I’ll find it and update this page, but for now you at least have formatting for your chart and your score. Hooray!

Handbell notation symbols
OK, are we still good?
You may have noticed that Dorico doesn’t have any handbell articulation symbols built in. It’s a massive oversight as far as I’m concerned, because it does support all kinds of very obscure markings for all kinds of things… just not handbells.
But we can fix that.
Go back to WRITE mode by clicking the tab in the upper-left of your screen.
Then in the right-hand sidebar, click the symbol for PLAYING TECHNIQUES and find the menu for PITCHED PERCUSSION

This is where handbell notation should go… but it’s not here. Not by default, anyway.
I’m going to show you how to add one, then you can just repeat that process to add any others you might need.
We’ll start by adding a Mart-lift.
Click the plus sign in that PITCHED PERCUSSION menu to add a new symbol. That pops up a brand new menu thingie and I know by now you’re thinking “what the fresh hell is THIS?” but fear not. I did all the trial-and-error and shaking my fist at the screen so you don’t have to.

At the top, you see NEW PLAYING TECHNIQUE highlighted. We’re going to change that to Mart-lift.
Then under TYPE, select GLYPH (because it’s a picture. For things like TD or R or LV, you’d select TEXT)
Under DEFAULT PLACEMENT, select BELOW, because they usually go below the note. You can always flip it to above the note on a case-by-case basis, but this will be the default.
Under POPOVER TEXT, type in mart-lift
Got it? Your menu should look like this now:

Now we need to get the glyph… click the little pencil under the big white box (right above the word GENERAL)

Now, we do NOT want “New Playing Technique” to get slapped under the note when we need a mart-lift, so find the little trash can in the lower-right corner of that grid and click that to get a clean slate.
Then, since GLYPH and SMUFL are already selected, click the menu next to RANGE and scroll waaaaaaaaaay down until you see HANDBELLS, then select that.

Hey, look! Handbell notations! Lots of them! Hooray!!! Select the symbol for a mart-lift and then click ADD GLYPH.
I always forget that ADD GLYPH step, but don’t make my mistake.
Don’t worry about where the glyph is on that grid. It won’t affect where it shows up in relation to your notes in the score.
Click OK.

And look! It now shows up in the menu under Pitched Percussion, too!

To use your new symbol in your score, highlight the note you want to add it to, then type SHIFT+P and type mart-lift.
Easy as that! You may remember that we typed mart-lift into the POPOVER TEXT box when we set up our symbol.
When you set up the other symbols, whatever text you put in the POPOVER TEXT box is what you’ll use to bring up that symbol while you’re writing your music. If you type “echo” in the POPOVER TEXT box for the fishhook symbol, you’ll need to SHIFT+P then type “echo” to get that symbol.
Make sure that your POPOVER TEXT isn’t something that’s likely already in use. “Martellato” is already in use, so use “mart” instead. “Shake” is already in use, so use “SK” instead. You get the idea.
Repeat this procedure until you have all of the notation symbols you want. The ones I have on-hand are these:
Bullseye (damp), downswing, echo, gyro, LV, tabled mallet, mallet lift, mart, mart lift, suspended mallet, pluck, Ring, Shake, Thumb Damp, and upswing.

Whew! That was a lot of work! Surely, we don’t have to go through all of that every time we want to write something for handbells…
No, of course you don’t. Once you have all the symbols you want, go up to FILE (upper left corner of your screen) and select
SAVE AS PROJECT TEMPLATE. Then in the next menu, type “Handbells” for the category. This will create a new template category called HANDBELLS.
If you make more templates (such as one with a title page, or both bells and chimes-used charts) you can save them under this same category and they’ll be easy to find.
For NAME, pick whatever you like. I have “Handbell Starter” for this one and “Starter with title page” and “Starter with bells and chimes” for another.
Make sure to tick the box for PRESERVE EXISTING FLOWS, otherwise you’ll lose your bells used chart.
Click SAVE.


And you’re done!
YES, that’s a huge hassle, but you only need to do it once. Every time you start a new score, start with this template and all of the work you just did will carry over and you can just write your music.
If you want to make variations of this template, start with this one, change what you like, then do a SAVE AS PROJECT TEMPLATE and give it a new name. It won’t overwrite this one, then you’ll have two to choose from.
I hope this helps - I know that the apparent lack of handbell support was the reason I didn’t bother with Dorico when it first came out.
I was sad to see that it still wasn’t included when they offered the cheap crossover price for those abandoned by Finale, but once I got my handbell template(s) set up, I find that Dorico is a joy to use and much more intuitive than either Finale or Sibelius.
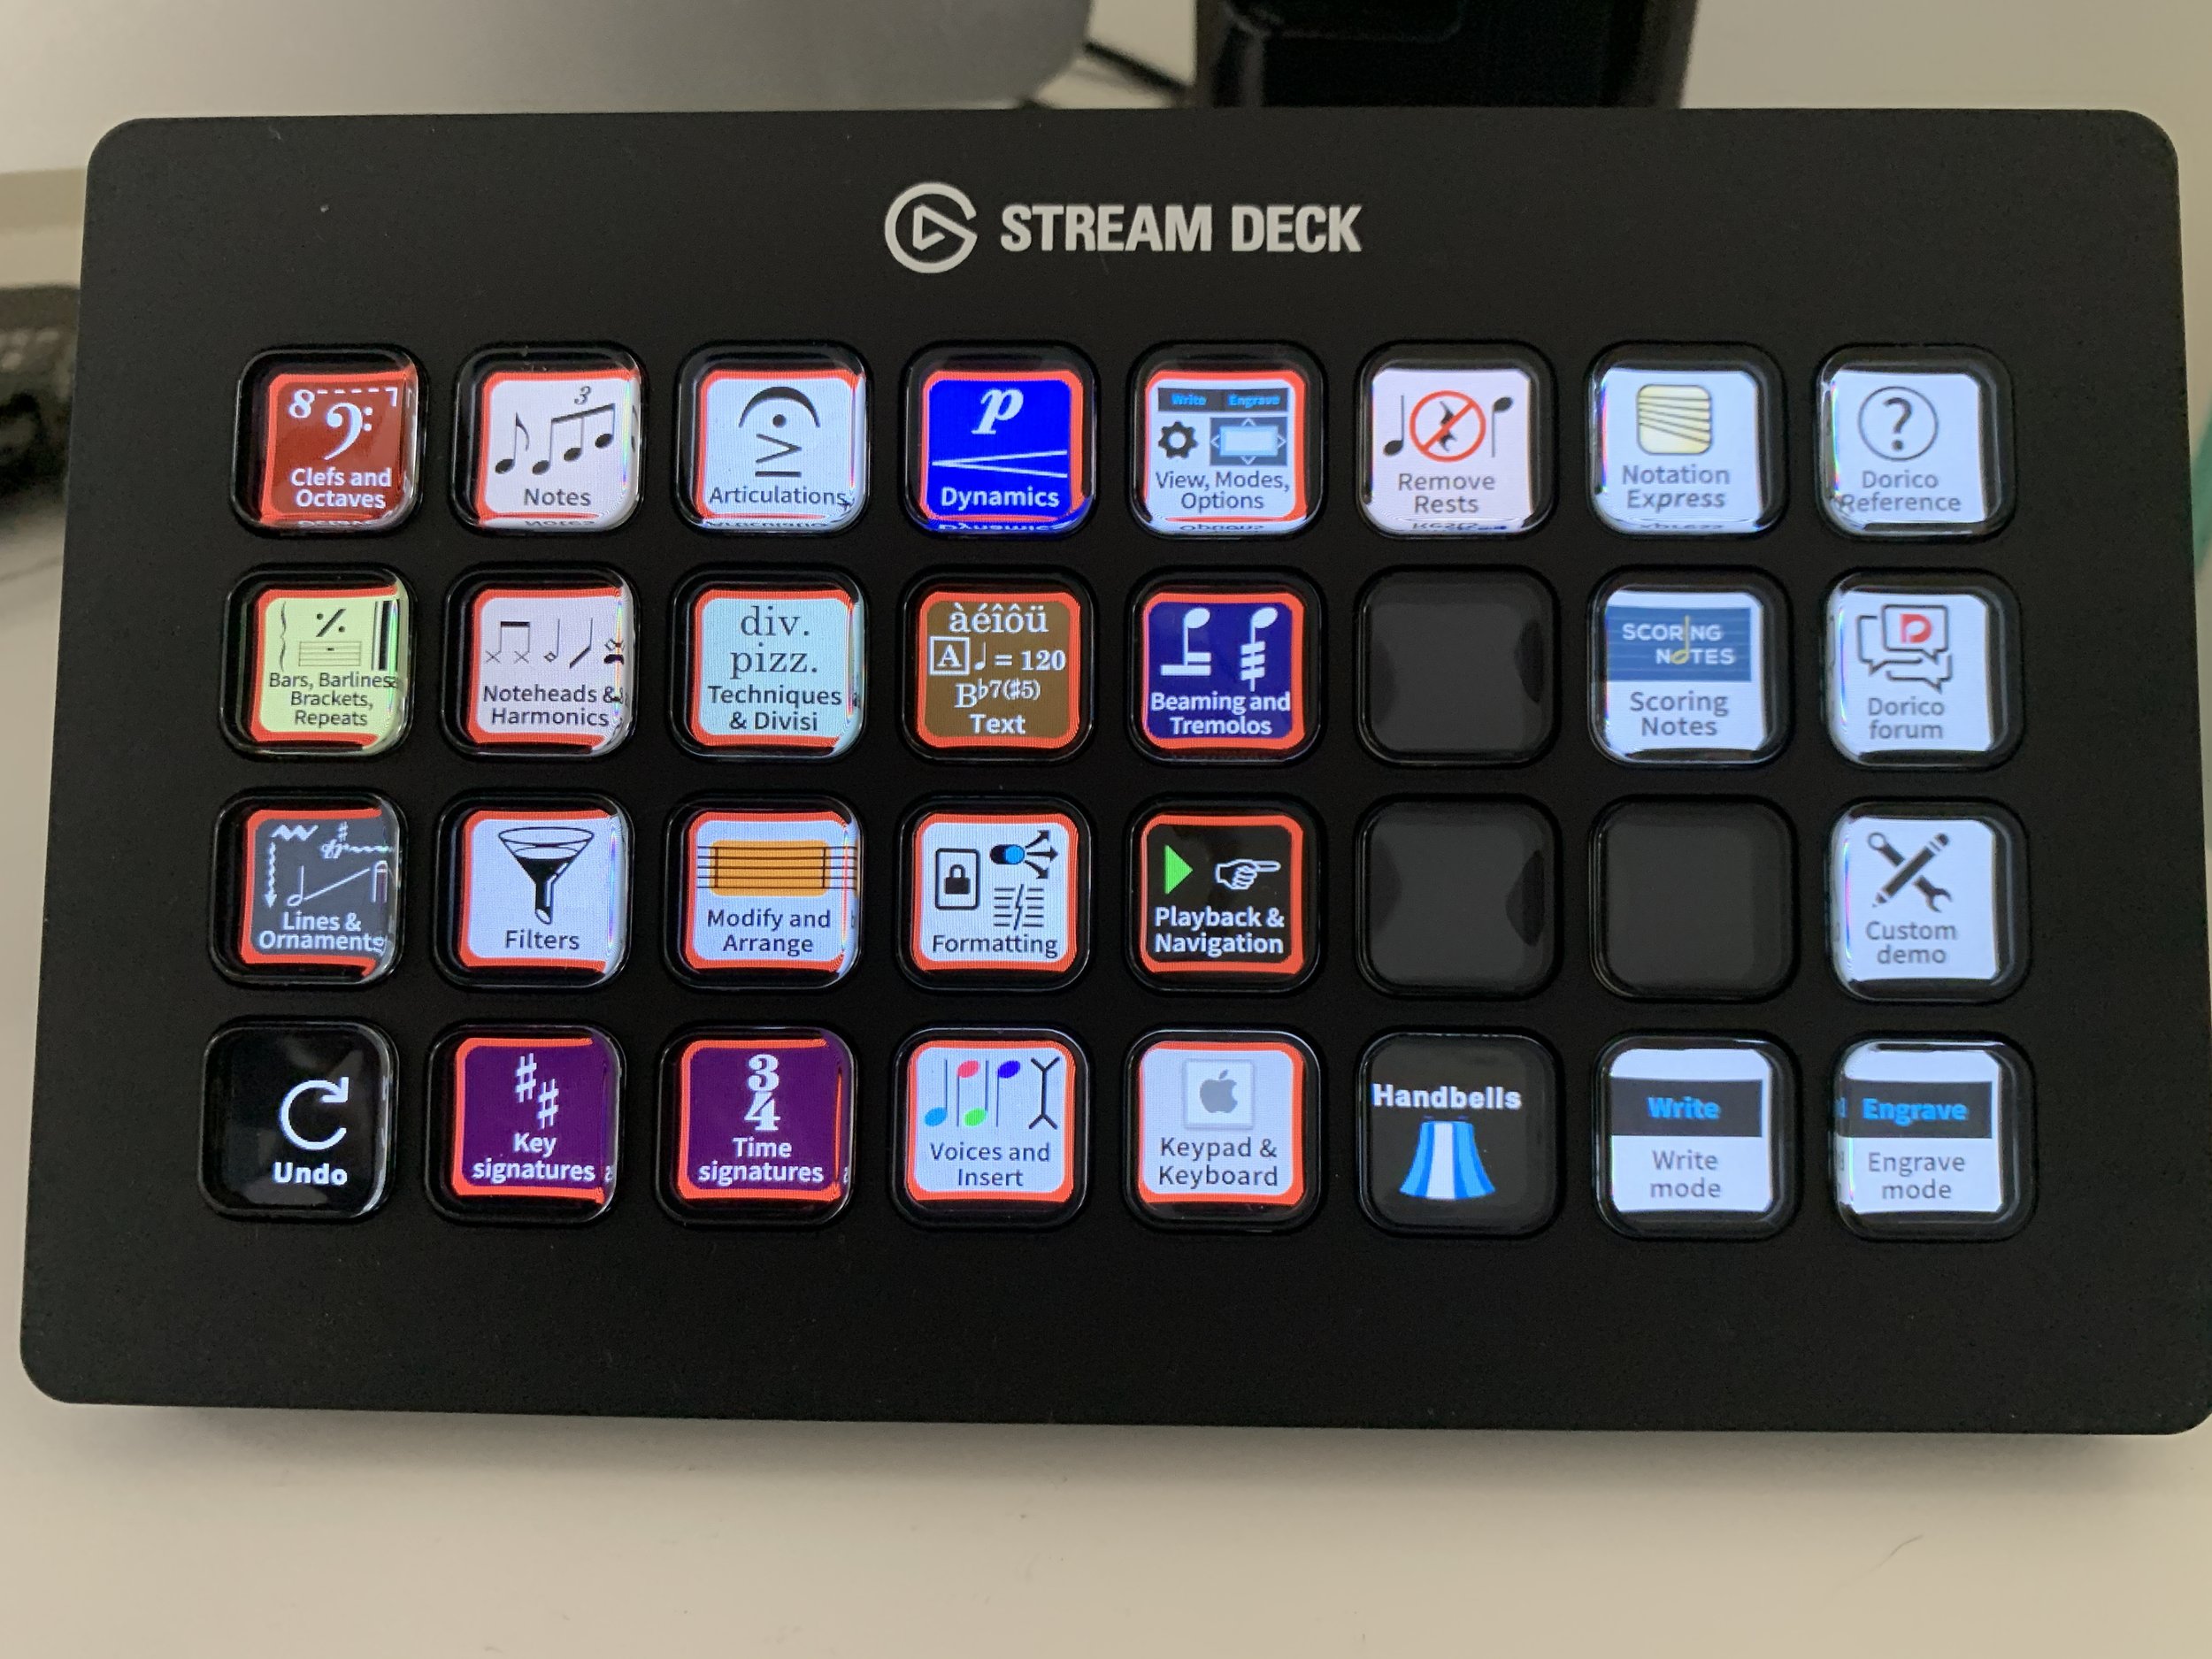
OH, and for the ultimate tool for making things easier… instead of remembering what popover text you assigned to things or where the layout options are or any of that nonsense, get yourself a Stream Deck and assign all those keystrokes to a button.
You want a mart-lift? Push the button! Things are much faster now!
